
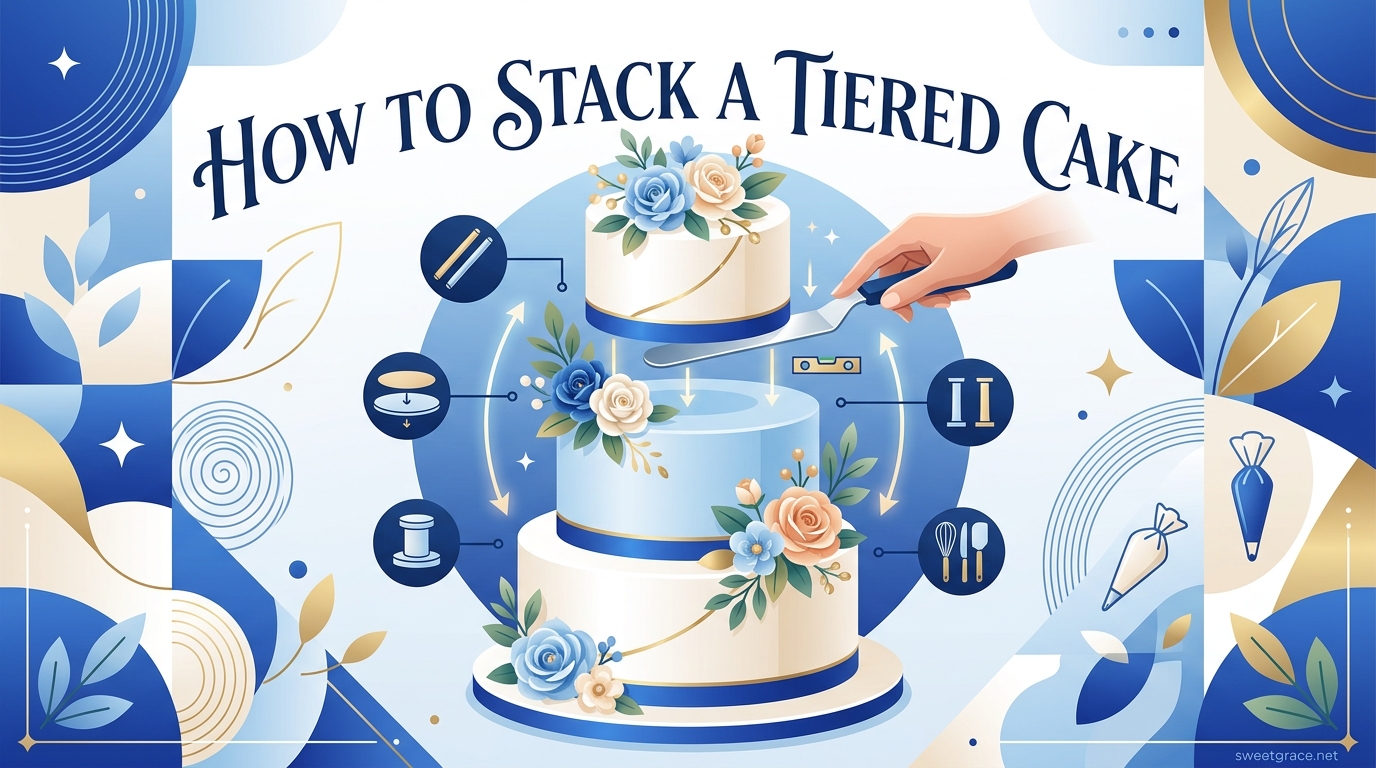
Learning how to stack a tiered cake opens up endless possibilities for stunning celebration cakes. Whether you’re planning a wedding cake, birthday showstopper, or holiday centerpiece, mastering tiered cake stacking techniques will transform your baking repertoire.
I remember my first attempt at stacking a two-tier cake—I was terrified it would collapse. The tiers were perfectly level, but overnight they started leaning and eventually had to be rescued with extra supports. That experience taught me what works (and what doesn’t) when building multi-tier cakes.
After years of testing different methods and consulting with professional cake decorators, I’ve compiled this comprehensive guide to help you stack tiered cakes safely. You’ll learn proper support systems, dowel placement techniques, and professional tips that prevent common disasters.
Table of Contents
- Essential Tools and Materials for Tiered Cake Stacking
- How to Prepare Cakes for Stacking
- Step-by-Step Guide: How to Stack a Tiered Cake
- Troubleshooting Common Tiered Cake Problems
- Professional Tips for Successful Tiered Cake Stacking
- Frequently Asked Questions About Stacking Tiered Cakes
- Conclusion: Mastering Tiered Cake Stacking
Essential Tools and Materials for Tiered Cake Stacking
Before diving into tiered cake stacking, gather the right tools. Having everything prepared prevents mid-process scrambling that can compromise your cake’s stability.
Core Tools Checklist
Start with these non-negotiable essentials for any tiered cake project:
- Cake boards or cardboard rounds — one for each tier (same size as tier)
- Cake drum or sturdy base board — for bottom tier (2-4 inches larger than tier)
- Support system — wooden dowels OR boba/bubble tea straws
- Offset spatula — for smoothing frosting and adjustments
- Turntable — makes leveling and decorating much easier
- Piping bag and tips — for adding final decorative touches
- Ruler or measuring tape — essential for dowel height accuracy
- Hand saw or heavy-duty shears — for cutting dowels
- Marker or pencil — for marking dowel placement
- Serrated knife — for leveling cake layers
Dowel Options: Wooden vs. Boba Straws
The support system debate among bakers often comes down to wooden dowels versus boba straws. Here’s what you need to know:
Wooden Dowels: Industry standard for heavy tiered cakes. Best for wedding cakes and projects with 3+ tiers. Provide maximum weight support but require precise cutting. Can be challenging to remove cleanly when serving.
Boba/Bubble Tea Straws: Excellent choice for 2-tier cakes and lighter cakes. Much easier to cut (scissors work fine) and remove when serving. Wide diameter (extra-wide straws) offers surprising strength. Perfect for beginners and smaller projects.
Our team tested both methods extensively with 8-inch and 10-inch tiers. For most home bakers creating 2-tier cakes, boba straws provide adequate support while being much more forgiving during cutting and placement.
Cake Boards: The Foundation of Stability
Every tier needs its own cake board—this isn’t optional. The board distributes weight evenly across the support system below and provides a clean surface for each tier.
Bottom tier: Use a cake drum or thick cardboard base (typically 1/2 inch thick). Size should be 2-4 inches larger than your bottom tier for visual balance and serving space.
Upper tiers: Use cardboard rounds or thin boards cut to the exact size of each tier. These boards sit directly on the support system of the tier below.
Pro tip: Double up boards for extra support on heavy bottom tiers. Simply glue two same-sized boards together for added stability.
How to Prepare Cakes for Stacking
Proper preparation is crucial for successful tiered cake stacking. Rushing this step leads to leaning, gaps, and collapse. Take the time to prepare each tier correctly.
Level Your Cake Tiers
Leveling creates the flat surface needed for stable stacking. Even slightly uneven tiers will cause problems as weight increases.
Use a long serrated knife and steady hand to slice off any domed tops. Place your cake on a turntable and rotate slowly while cutting for the most even results. A cake leveler tool can help beginners achieve consistent results.
Check your work by placing a ruler across the top surface. No gaps should exist between ruler and cake. Level tops ensure dowels sit evenly and tiers stack straight.
Fill and Assemble Layers
Fill between your baked layers with buttercream, ganache, or your chosen filling. Pipe a dam of stiff buttercream around the edge before adding soft fillings to prevent oozing.
Aim for 4-inch finished tier height (standard for most tiered cakes). This typically means two 2-inch baked layers with filling between, or three thinner layers for more delicate designs.
For filled cakes, chill for at least 30 minutes before further handling. This prevents shifting during stacking.
Apply Crumb Coat
The crumb coat is a thin layer of frosting that seals in crumbs. It’s non-negotiable for tiered cakes because it provides a smooth surface for dowels and prevents cake from drying out.
Apply a thin layer of buttercream over the entire tier. Don’t worry about perfection—this layer will be covered later. Chill until firm to the touch (usually 15-20 minutes in the refrigerator).
Once chilled, apply your final coat of frosting. For tiered cakes, aim for smooth sides and edges—imperfections become more noticeable as cakes stack.
Chill Before Stacking
This is the golden rule: never stack warm or room-temperature cakes. Chill all tiers until firm (2-4 hours in refrigerator or overnight for best results).
Firm frosting supports dowel placement without denting. Cold cakes are easier to handle and less likely to shift during stacking. Warm cakes compress under weight, creating uneven surfaces and instability.
For buttercream cakes, refrigerator chilling is sufficient. For fondant-covered cakes, avoid excessive refrigeration which can cause condensation issues.
Step-by-Step Guide: How to Stack a Tiered Cake
Follow this proven process for stacking multi-tier cakes safely. I’ve used this method for dozens of projects, from simple two-tier birthday cakes to complex four-tier wedding cakes.
Step 1: Mark Dowel Placement Pattern
Start with your bottom tier placed on its cake drum or base board. The tier should be fully frosted and chilled firm.
Mark where your next tier will sit by centering the empty cake board for that tier on top of the bottom tier. Lightly trace around the board with a toothpick or knife to create a guide circle.
Plan your dowel placement within this circle. For 8-10 inch tiers, place 4-6 dowels in a ring pattern just inside the traced circle. Space them evenly, approximately 2 inches apart. For larger tiers (12+ inches), add 1-2 dowels in the center for extra support.
Mark each dowel location with a small dot of frosting or a pencil mark. These marks guide your dowel insertion.
Step 2: Insert Support Dowels
Insert your first dowel straight down into the cake at your first marked location. Push firmly until it hits the cake board below. The dowel should go through all layers and rest on the board beneath.
Mark the height of the dowel at the frosting surface using a pencil or marker. Remove the dowel and cut at your marked line using heavy-duty shears (for straws) or a small saw (for wooden dowels).
Cut all other dowels to this exact same height. This precision is critical—uneven dowels create wobbly tiers. Measure twice, cut once.
Insert each cut dowel back into its pre-made hole. All dowels should sit flush with the frosting surface. No dowel should stick up above or sit below the frosting level.
Step 3: Verify Support System
Place a small cutting board or the empty cake board for the next tier on top of the dowels. It should sit completely level without wobbling.
If the board rocks, identify which dowel is uneven and adjust. Pull out the problem dowel and trim slightly (1-2mm can make a difference) or replace with a correctly cut dowel.
Test stability by pressing gently on the board. It shouldn’t compress into the cake. Properly placed dowels support weight without sinking.
Step 4: Stack First Upper Tier
Pipe a small dollop of buttercream in the center of the dowels—this acts as “glue” to prevent sliding. About the size of a quarter is sufficient.
Center your prepared upper tier (on its cake board) over the support system. Lower it carefully, keeping it as level as possible. Guide it with both hands—one on top, one underneath if possible.
Once placed, check alignment from all angles. The tiers should appear centered when viewed from above. Make slight adjustments by gently sliding the tier (never lift once placed—this damages frosting below).
Step 5: Add Center Dowel Method (For 3+ Tiers)
For cakes with three or more tiers, add a center dowel through the entire stack for extra stability. This is especially important for transport.
Find the exact center of your top tier (measure diagonally from corners). Insert one long sharpened dowel straight down through all tiers.
Push until it hits the bottom cake board. This dowel locks all tiers together and prevents shifting during movement. Mark the height at the top of the cake, remove, cut, and reinsert.
For very tall cakes (4+ tiers), consider driving the center dowel through all tiers before stacking upper layers, then adding tiers around it.
Step 6: Repeat for Additional Tiers
If stacking more than two tiers, repeat the dowel placement process on the newly placed tier before adding the next one.
Always work from bottom up, ensuring each tier has proper support before adding weight above. Never skip dowels on intermediate tiers—the weight multiplies quickly as you add layers.
For four-tier cakes, the bottom two tiers need maximum support (6+ dowels each), middle tier needs moderate support (4-5 dowels), and top tier typically needs no internal support unless very heavy.
Step 7: Final Touches and Sealing
Once all tiers are stacked and aligned, add a border at the base of each tier where it meets the tier below. This hides any gaps and creates a seamless finish.
Pipe a shell border, bead border, or simply smooth buttercream over the joint. This not only looks professional but also helps secure the tiers together visually.
Add your final decorations—flowers, toppers, piping—keeping weight distribution in mind. Heavy decorations should be placed centrally, not at edges that might cause tipping.
Let the completed cake rest at room temperature if serving within 4-6 hours. For longer storage, refrigerate but bring to room temperature 2-3 hours before serving for best texture.
Troubleshooting Common Tiered Cake Problems
Even experienced bakers encounter issues when stacking tiered cakes. Here are solutions to the most common problems, gathered from real experiences in cake decorating communities.
Cake Leaning or Tilting
Cause: Uneven dowel heights, unlevel cakes, or settling over time.
Prevention: Measure all dowels precisely against a flat surface. Use a level to verify tier placement. Chill cakes thoroughly before stacking.
Emergency fix: If a slight lean develops, carefully insert additional support on the lower side. For significant leans, you may need to dismantle and rebuild—better to do this than risk collapse during an event.
Gaps Between Tiers
Cause: Cakes settling or compressing under weight after stacking.
Prevention: Build adequate support systems. Don’t stack too far in advance—24-48 hours maximum before events.
Emergency fix: Fill gaps with buttercream using a piping bag or small spatula. Smooth and let crust, then add border decoration to conceal the repair.
Support System Failure
Cause: Too few dowels, dowels placed too far apart, or using undersized supports for heavy cakes.
Prevention: Follow dowel quantity guidelines based on tier size. Use wooden dowels for cakes with 3+ tiers or heavy fondant. Never skip the center dowel method for tall cakes.
Emergency fix: If you notice compression or sinking, immediately reduce weight by removing upper tiers. Reinforce the lower tier with additional dowels before restacking.
Dowels Showing Through Frosting
Cause: Dowels cut too tall or frosting too thin in some areas.
Prevention: Measure dowel height against frosting surface at multiple points. Apply consistent frosting thickness (at least 1/4 inch) over all tiers.
Emergency fix: Carefully remove protruding dowels, trim slightly, and reinsert. Patch holes with buttercream and smooth before refreezing if needed.
Transport Damage
Cause: Movement during transport without proper securing.
Prevention: Use non-slip mats in vehicle. Drive slowly and avoid sudden stops. Consider stacking cakes at the venue for events more than 30 minutes away.
Emergency fix: Keep a repair kit with extra buttercream, piping bags, and basic tools. Address minor shifts immediately upon arrival at venue.
Professional Tips for Successful Tiered Cake Stacking
After testing dozens of tiered cake projects, our team has identified these professional techniques that make stacking significantly easier and more reliable.
Temperature Control Matters
In hot or humid climates, buttercream softens quickly. Work in air-conditioned spaces when possible. If stacking in warm conditions, freeze tiers for 30 minutes before assembly for extra stability.
For outdoor summer events, consider using fondant-covered tiers which hold up better in heat. Buttercream-iced cakes should remain refrigerated until 2-3 hours before outdoor events.
Timing Your Stack
Stack tiered cakes as close to the event as possible while allowing time for decorations. For most projects, stacking 24-48 hours before events works well.
Wedding cakes should ideally be stacked the day before the event at the venue location. This minimizes transport risks and allows same-day fresh finishing touches.
Never stack more than 3 days in advance—cakes dry out, settle unevenly, and freshness declines even when refrigerated.
Weight Distribution Guidelines
Understanding weight limits prevents collapse. Here are approximate weight calculations for standard cake sizes:
- 6-inch tier: 3-4 pounds (no internal support needed as top tier)
- 8-inch tier: 5-7 pounds (needs 4-5 dowels to support tier above)
- 10-inch tier: 8-12 pounds (needs 6 dowels to support tiers above)
- 12-inch tier: 14-18 pounds (needs 7-8 dowels plus center support method)
Heavier fondant, dense fillings, or added decorations increase these weights by 20-30%. Always err on the side of more support rather than less.
Stacking Different Cake Configurations
Not all tiered cakes follow the standard graduated size pattern. Here’s how to handle alternative configurations:
Square tiers: Place dowels in a square pattern rather than circle. Use 5 dowels for 8-inch squares (one in each corner plus center).
Pillar-separated tiers: Use separator plates and pillar systems designed for visible gaps between tiers. These require specialized equipment but create dramatic architectural effects.
Cascading/offset tiers: These require custom support plans. Each tier needs independent support systems, and structural engineering principles apply. Best left to experienced decorators.
Frequently Asked Questions About Stacking Tiered Cakes
How to hold tiered cakes together?
Tiered cakes are held together using an internal support system of dowel rods or boba straws placed in the lower tiers, combined with cake boards between each layer. The support system bears the weight of upper tiers, while buttercream acts as adhesive between stacked tiers. For cakes with 3+ tiers, a center dowel driven through the entire stack provides additional stability and prevents shifting during transport.
Do you need cake boards between tiers?
Yes, cake boards between every tier are essential for support and stability. Each tier requires its own cardboard round or board cut to the exact size of that tier. The bottom tier sits on a larger cake drum or base board, typically 2-4 inches larger than the tier itself. These boards distribute weight evenly across the support system below and provide clean surfaces for stacking. Without proper boards, tiers will compress unevenly and potentially collapse.
What are common tiered cake mistakes?
The most common mistakes when stacking tiered cakes include: not chilling cakes before stacking (causes shifting and uneven settling), cutting dowels at uneven heights (creates wobbly tiers), using too few support dowels (leads to collapse), not centering tiers properly (results in leaning cakes), and skipping the crumb coat (causes dryness and instability). Other frequent errors include stacking warm cakes, using flimsy cake boards, and attempting to stack too far in advance of the event.
How to properly stack a tiered cake?
Proper tiered cake stacking requires: (1) Level and chill all tiers thoroughly until firm, (2) Mark dowel placement pattern in a circle within the area where the next tier will sit, (3) Insert dowels straight down to the cake board and mark height at frosting surface, (4) Remove dowels and cut all to exact same height, (5) Reinsert dowels and verify they sit flush with frosting, (6) Add a small amount of buttercream as glue on top of dowels, (7) Center and lower the next tier carefully, (8) Repeat process for additional tiers, (9) Add center dowel through entire stack for 3+ tiers. Always work from bottom up and never skip internal support systems.
When should I stack tiered cakes?
Stack tiered cakes 24-48 hours before your event for optimal results. This timing allows cakes to settle while maintaining freshness. For weddings and important events, stack at the venue location the day before to minimize transport risks. Never stack more than 3 days in advance as cakes dry out and quality declines. Buttercream cakes can remain at room temperature for 4-6 hours after stacking, or refrigerated for longer storage. Always bring refrigerated cakes to room temperature 2-3 hours before serving.
Conclusion: Mastering Tiered Cake Stacking
Learning how to stack a tiered cake takes practice, but following proper techniques makes the process manageable for any dedicated home baker. The key is preparation—level cakes, precise dowel measurements, and thorough chilling prevent most common problems.
Start with a simple two-tier project before attempting taller or more complex designs. Your confidence will grow with each successful stack. Remember that even professional decorators experienced leaning cakes and collapsed supports when learning—these setbacks are part of the process.
Now that you understand the fundamentals of tiered cake stacking, you’re ready to create stunning multi-tier cakes for your most important celebrations. Take your time with preparation, measure twice, and enjoy the process of building edible architecture that will wow your guests.